
Please follow the below steps to install the Basic, Standard, or Pro version of ValueText
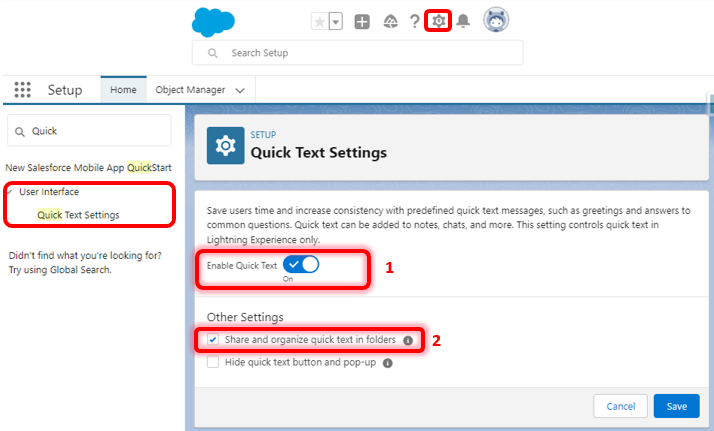
Prerequisite: Please turn on these options in your Org before continuing.
Go To >>> Setup >>> In Quick Search [Type “Quick Text Setting”] >>>Click on that >>> Activate 1, 2, and checkboxes as shown in the image below.
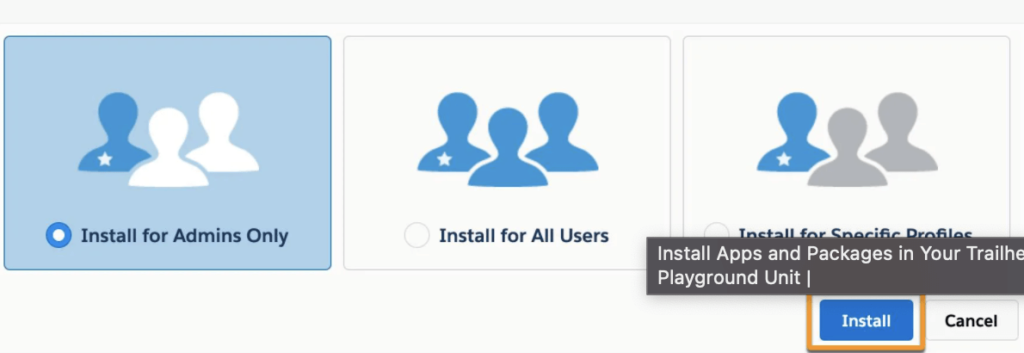
Step A: Install the Package
Click the respective link to install at destination org (This step generally takes up to 5 mins).
Production:
https://login.salesforce.com/packaging/installPackage.apexp?p0=04tIU000000ylEW
Sandbox:
https://test.salesforce.com/packaging/installPackage.apexp?p0=04tIU000000ylEW
Note: Please contact your administrator or ValueText team for the latest package version.
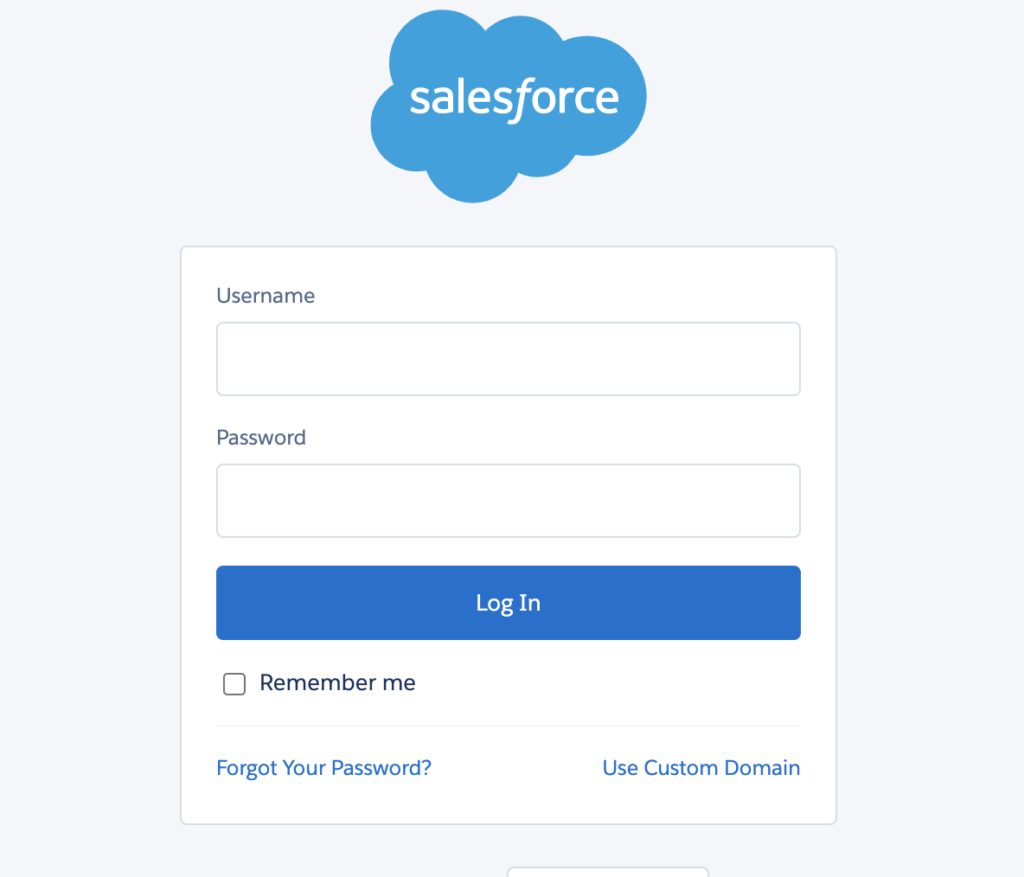
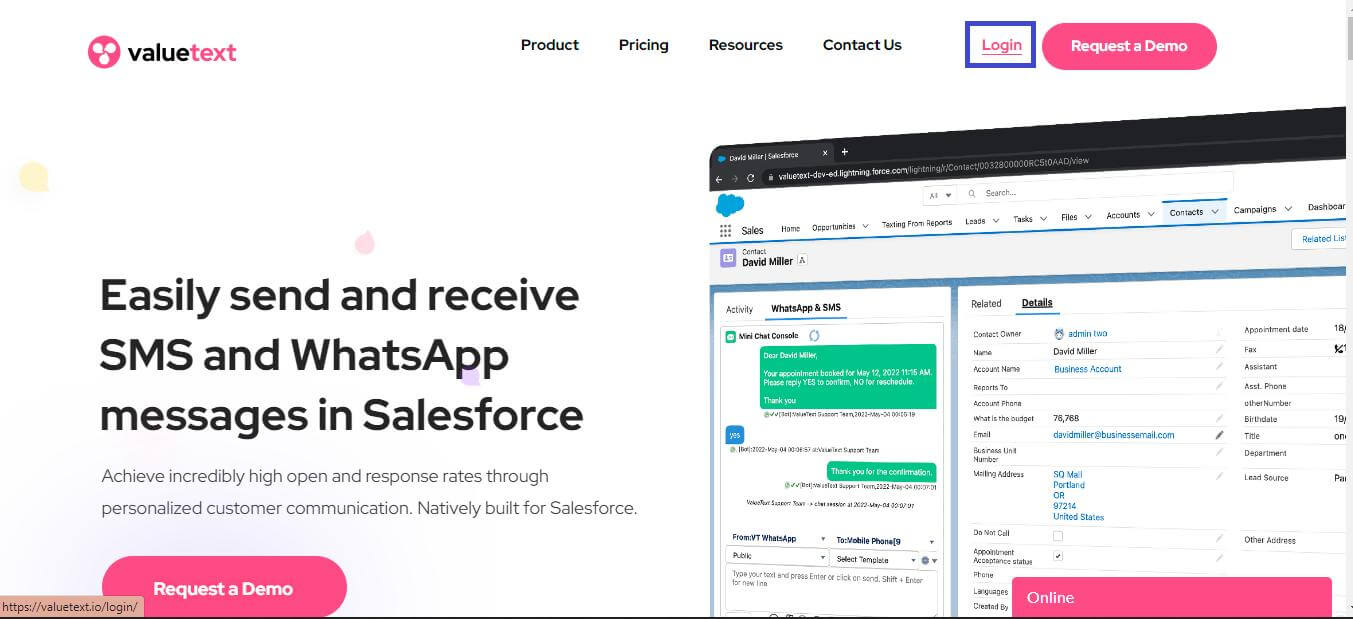
Once you click on the respective link then it will ask you to login into the target salesforce account to install the package.
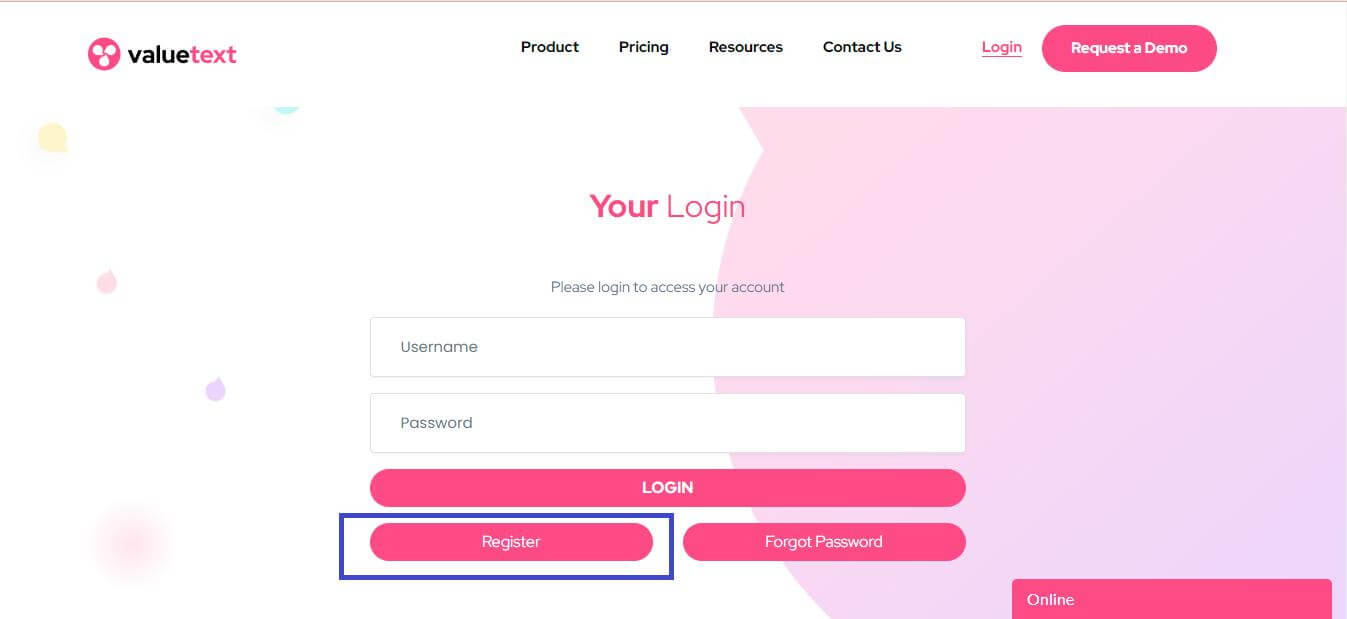
Enter the username and password to login into the target account.

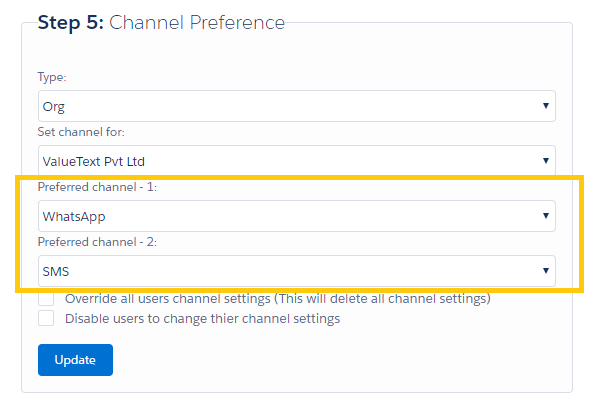
Know more about channel settings.
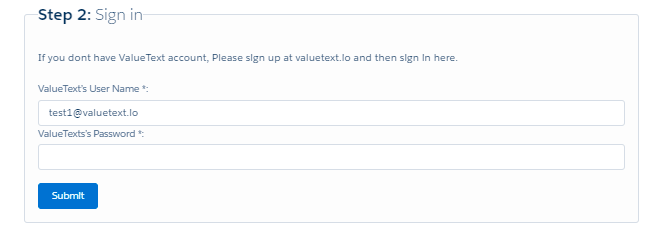
Step D: Verify your number for testing: (This step is required only in the TRIAL version)
Currently, you are using the TRIAL version where you can send text messages only to your number (Trusted Numbers).
Enter your phone number with country code and without spaces. Just like 19999999999. 1 is the country code and 9999999999 is the phone number.
After entering the number click on “Generate OTP” button. you will receive OTP over WhatsApp or SMS. Use the same OTP to verify your number.
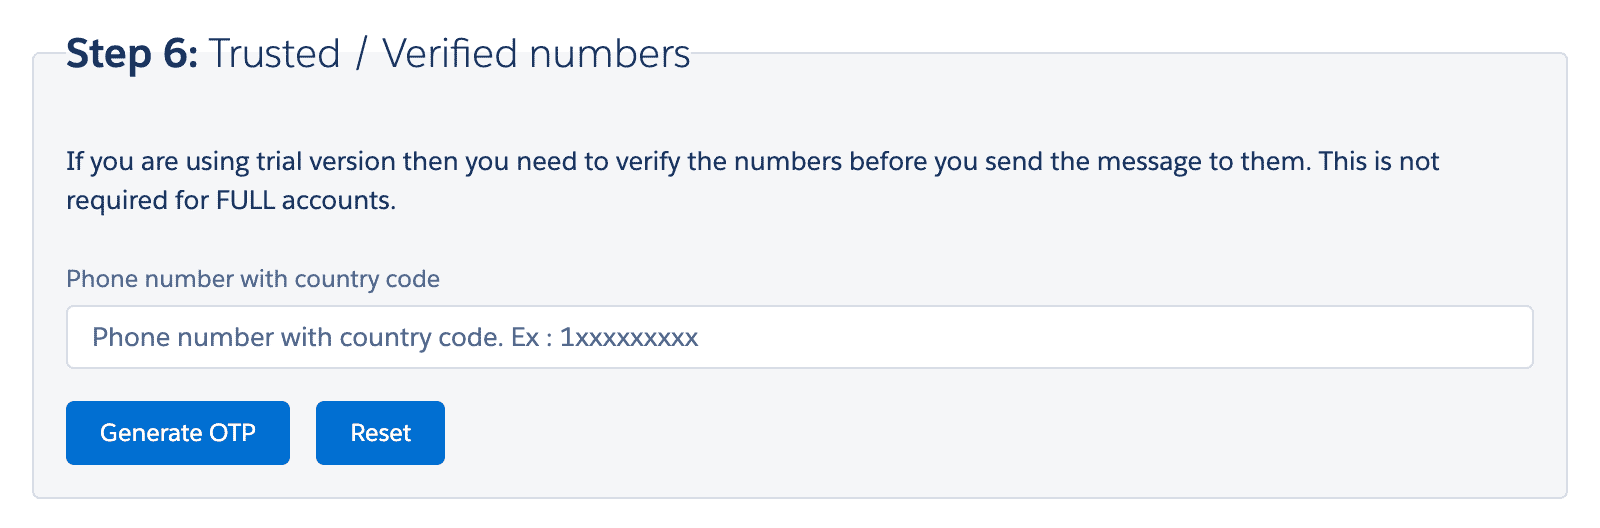
Now, you are ready to send the messages from salesforce.
Important Note: This step is required only in the TRIAL version. Once you upgrade to the FULL version you can send a text to any number without verification.
To upgrade your account, please contact us at sales@valuetext.io
Step E: Set up component on to contact:
SETUP for lightning:
Go to contact record > gear symbol (Top right)> “Edit Page” on the top right side > at the left side search for “ChatWindowWhatsAppAndSMS” and drag to the section wherever you like.
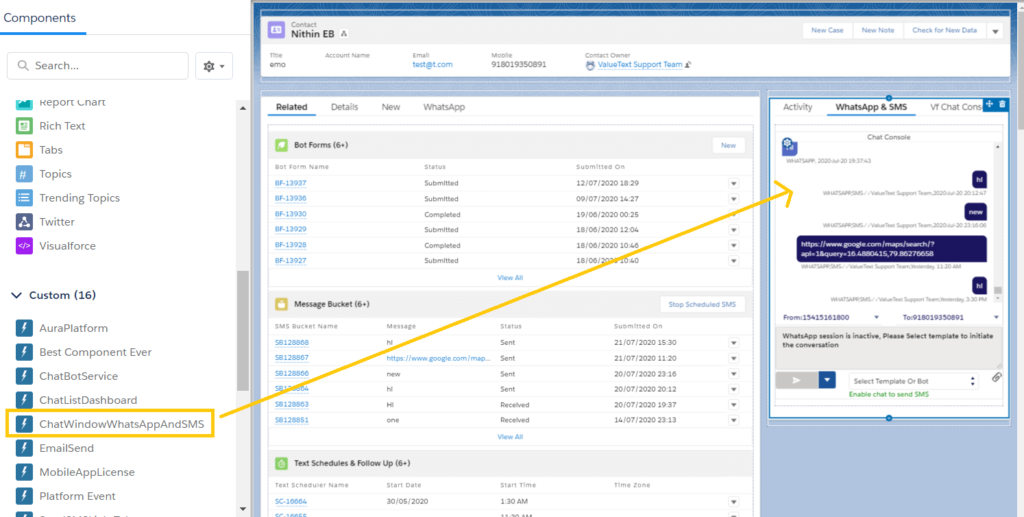
Activate and save it and do the same process for other objects like lead, accounts or any custom object in salesforce wherever you would like to send the message.
Step F: Now you are ready to send and receive text messages from salesforce!
Go and pick any contact record where you have set up the above components with contact layout.
Use the lightning component to send and receive the text messages.
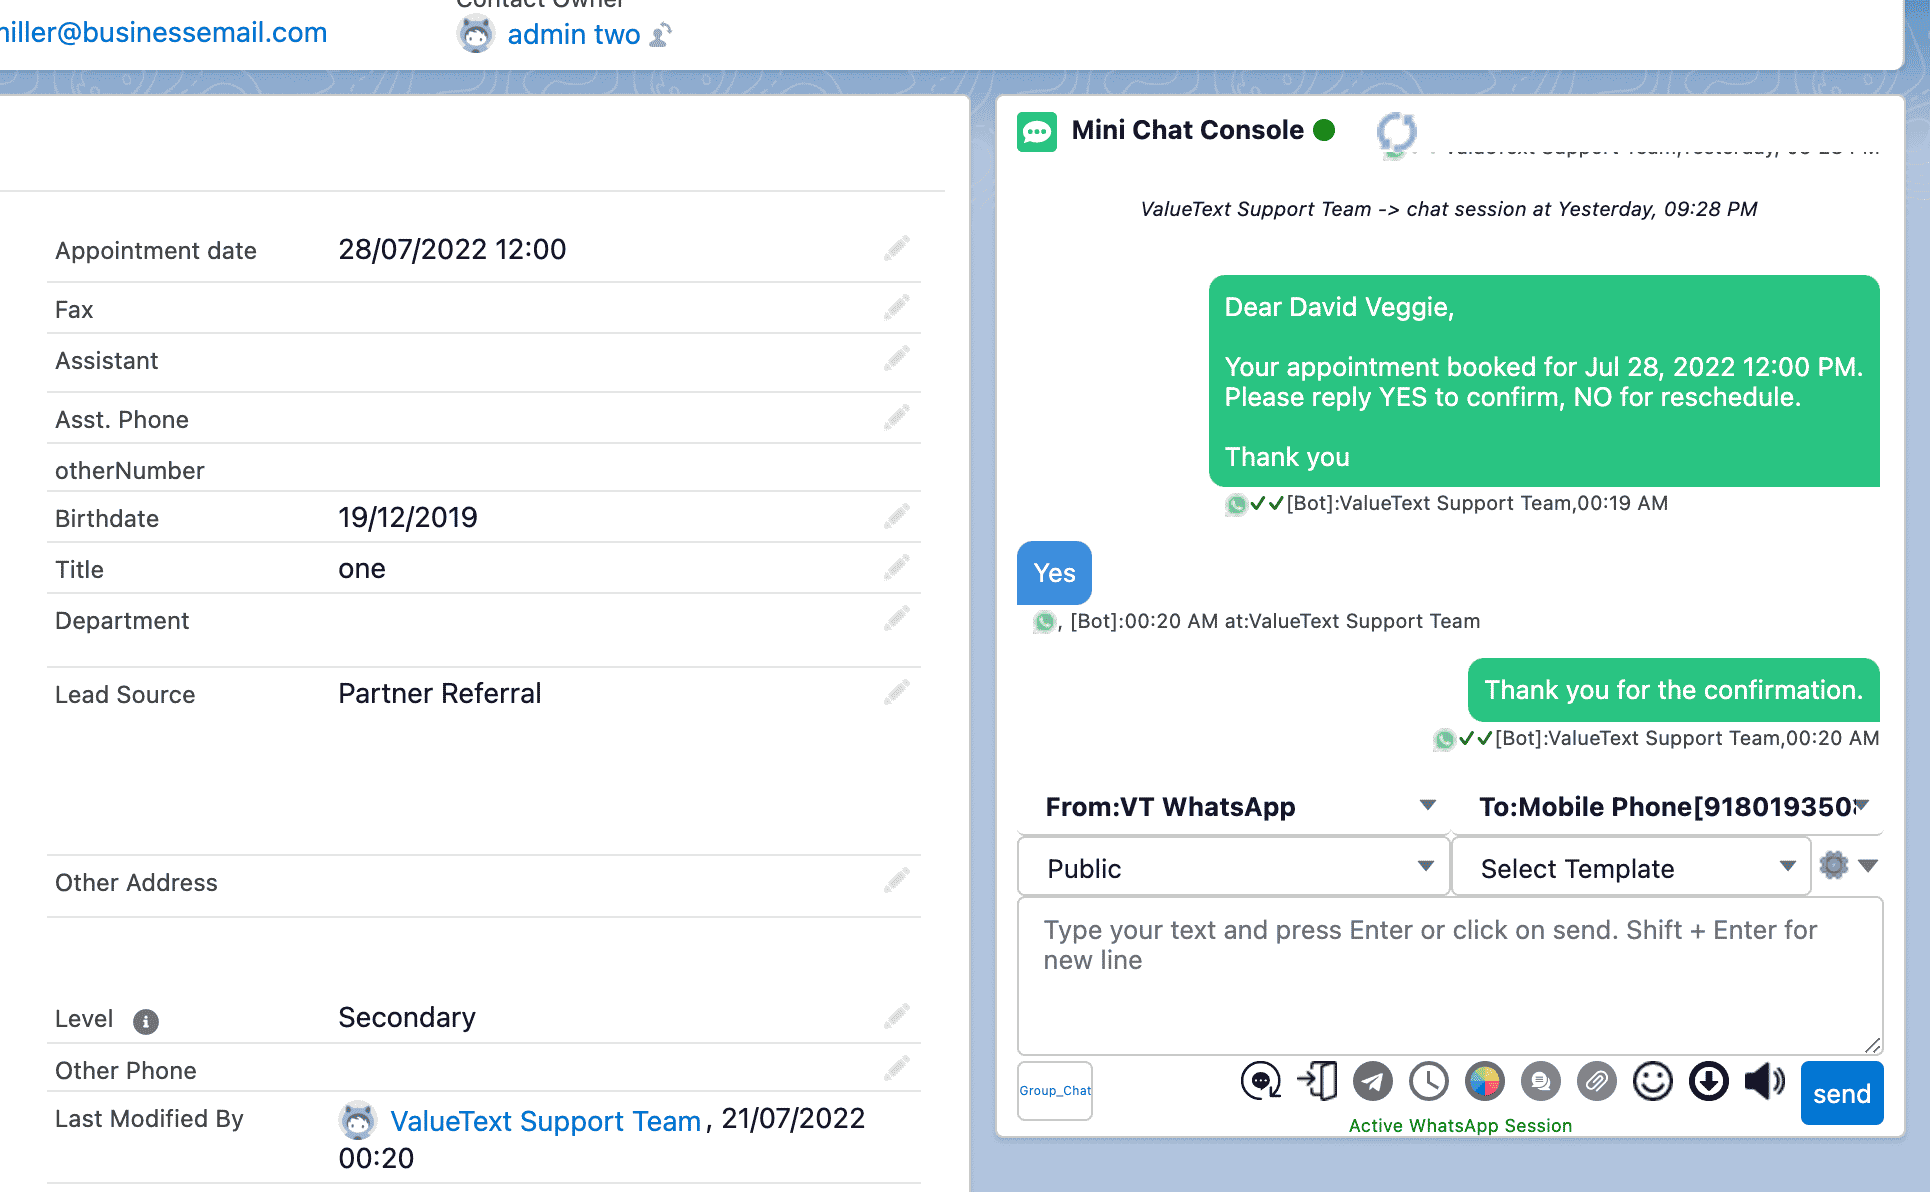
In the trial version, you have to use the same sender id which comes with the package.
If you’re testing WhatsApp, just use the “First Template” from the template dropdown. “Approved Template” is approved by WhatsApp. After you receive a message just reply to something from your WhatsApp to activate the session.
Learn how to use Mini Chat Console here
Book a demo – https://valuetext.io/demo/